Step 1 - Create an account
Go to foenix.ai/signup and sign up. No credit card required - you get 500 free credits and a free 24-hour sandbox to explore immediately.Your trial sandbox is a fully-functional WordPress site deployed on our servers. It’s the fastest way to get a feel for Foenix before connecting a real site. After 24 hours it’s automatically removed.
Step 2 - Choose where your agents work
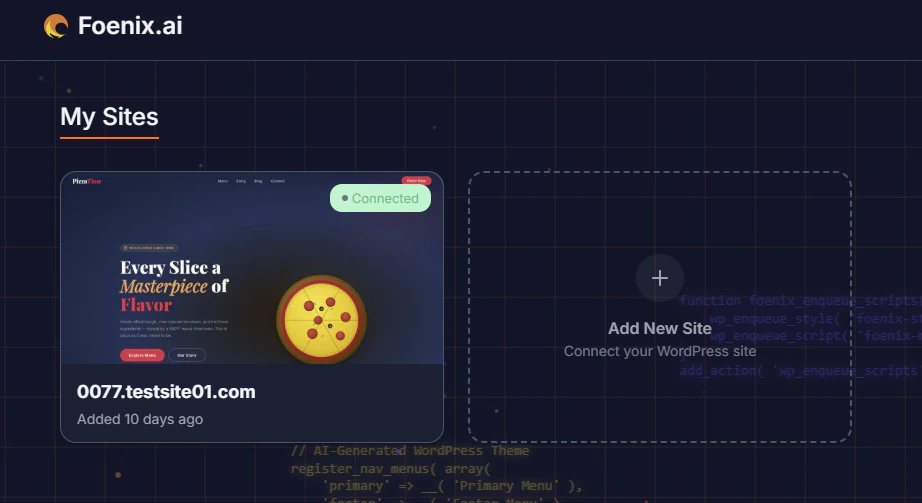
In your Foenix dashboard, click Add New Site. You’ll be asked where your agents should work.
- Launch a sandbox (recommended)
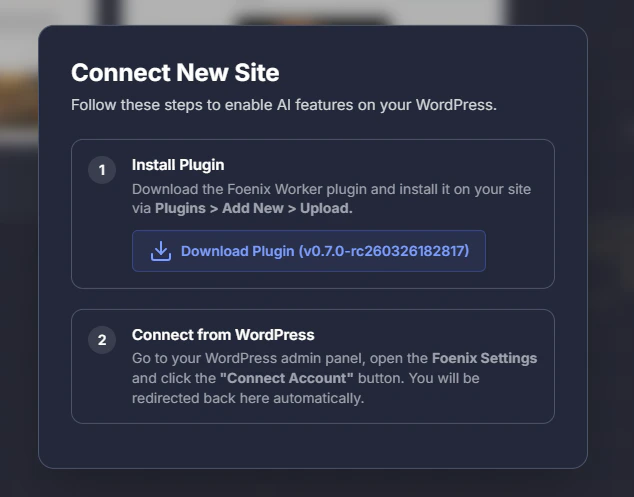
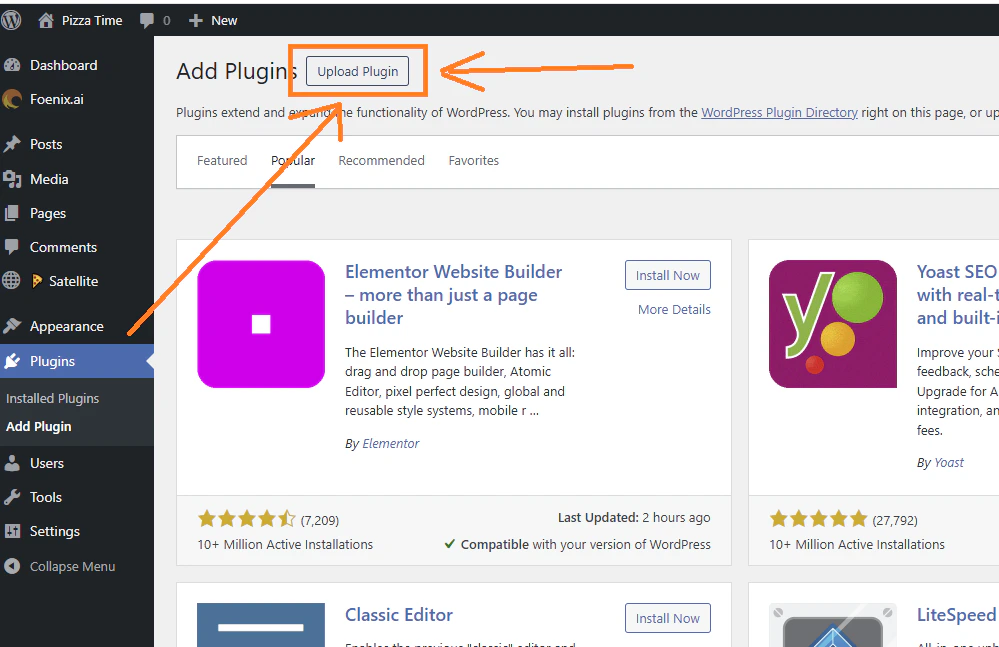
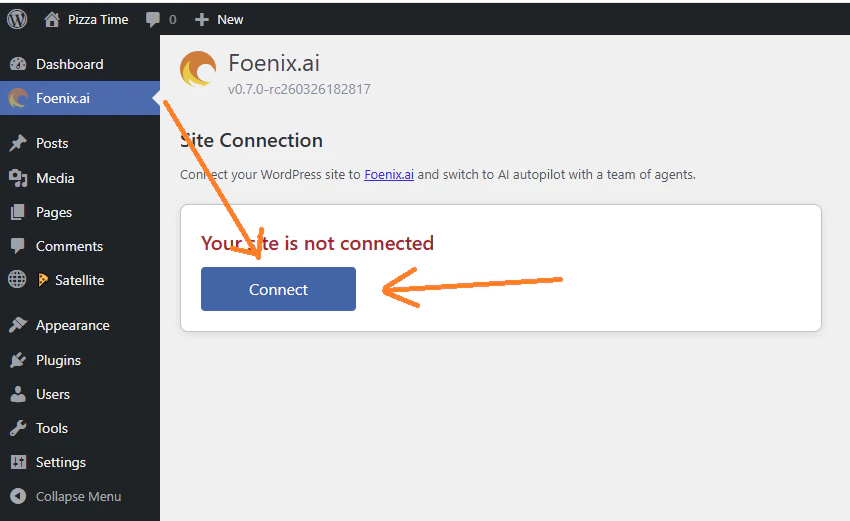
- Connect my own site
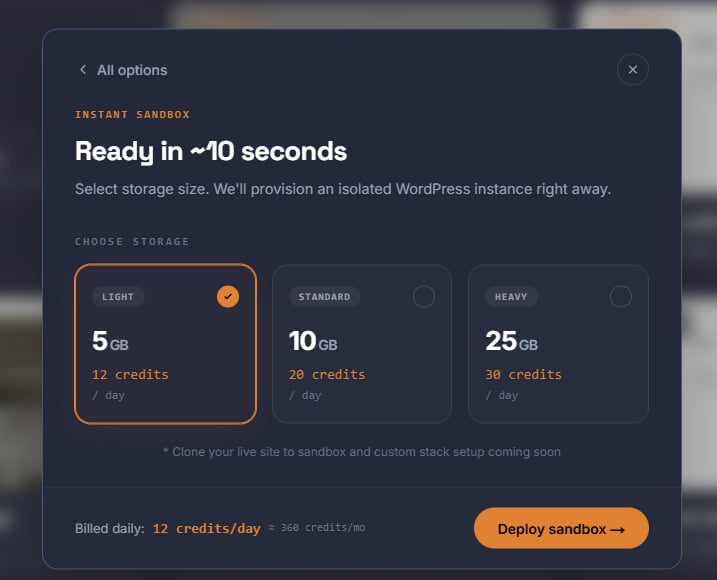
A persistent, fully-managed WordPress instance on our servers - live in ~10 seconds. Best for testing, demos, and learning the system without touching a production site.Click Launch a sandbox, then choose a storage size:
Just signed up? Your free 24-hour sandbox is already running - skip straight to Step 3. Deploy a persistent sandbox below only when you want one that lasts longer.
| Tier | Storage | Cost |
|---|---|---|
| Light | 5 GB | 12 credits / day |
| Standard | 10 GB | 20 credits / day |
| Heavy | 25 GB | 30 credits / day |
Cloning your live site into a sandbox and custom stack setups are coming soon.
Step 3 - Run your first task
Click your sandbox or site in the Foenix dashboard to open a new session. Start with a question - questions are read-only and cost almost nothing: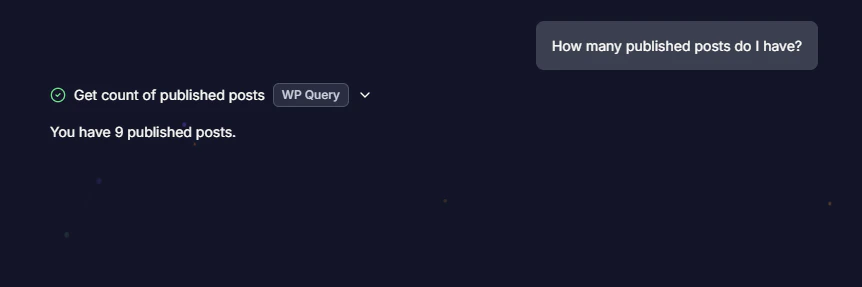
What’s next
How it works
The four autonomy levels and what Foenix can touch on your site
Scheduled Agents
Put a task on a schedule and let it run without you
Credits & AI Modes
What tasks cost and how Lite, Standard and Ultra modes change the price